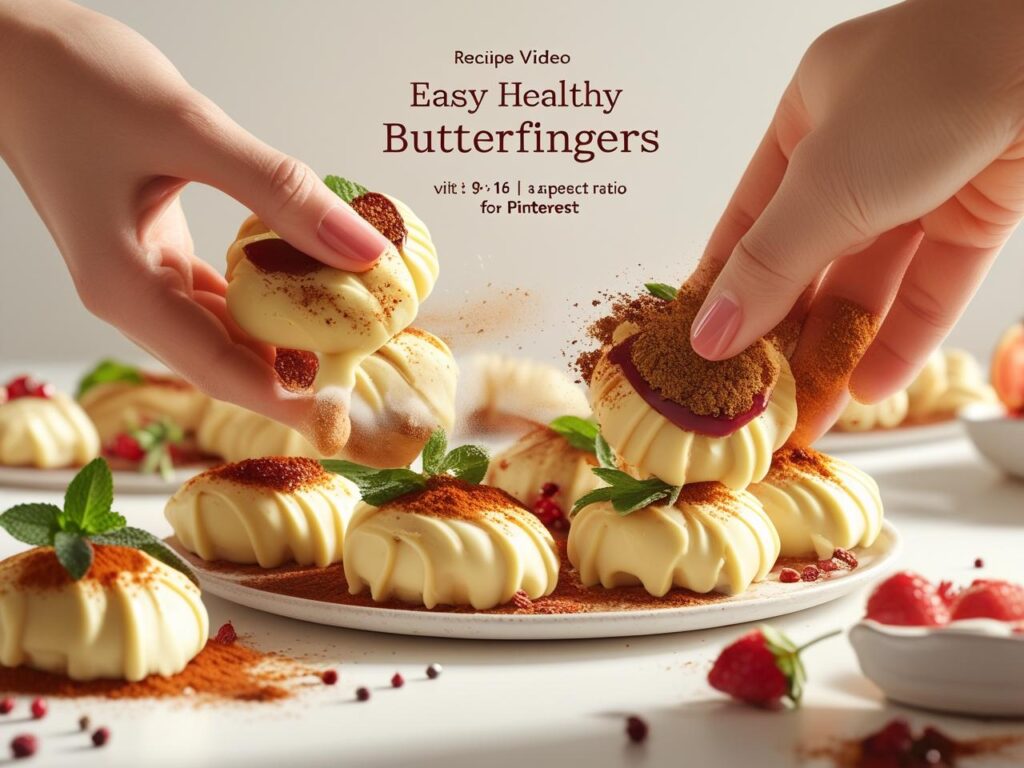
If you’re like me, you probably grew up sneaking Butterfingers from your Halloween stash — then regretting it when the sugar crash hit. What if I told you that you could recreate that crunchy, peanut buttery, chocolatey magic in your own kitchen — but way healthier?
This Healthy Butterfinger Recipe is for anyone who wants the nostalgic flavor of Butterfingers without the corn syrup, refined sugar, or mystery additives. These Homemade Healthy Butterfingers are shockingly easy to make and freezer-friendly — so you can always have a stash ready for when cravings strike.
Why Make a Healthy Butterfinger Recipe at Home?
You might wonder: Is it really worth the effort to make Butterfingers at home? Here’s why so many people say YES!
- Clean Ingredients: You know exactly what goes into each bite — no artificial flavors, no preservatives.
- Lower Sugar: Natural sweeteners like maple syrup or honey replace refined sugar.
- Customizable: Make them vegan, paleo, or dairy-free in minutes.
- Budget Friendly: Better for your wallet than pricey store-bought “healthy” candy bars.
According to Food Navigator USA, more than 55% of Americans are actively trying to limit refined sugar, so better-for-you treats like this are right on trend.
How to Make Homemade Healthy Butterfingers
Don’t worry — this isn’t one of those recipes that needs fancy equipment or hours in the kitchen. You’ll just need a few simple ingredients, a baking sheet, and some parchment paper.
Ingredients You’ll Need
- 1 cup natural creamy peanut butter (no added sugar)
- 1/2 cup maple syrup or raw honey
- 2 cups organic cornflakes (or gluten-free cornflakes)
- 1 teaspoon pure vanilla extract
- 1 1/2 cups dark chocolate chips (70% or higher)
- 1 tablespoon coconut oil
Step-by-Step Instructions
1️⃣ Crunch It Up
Place the cornflakes in a zip-top bag and crush lightly with a rolling pin — you want small pieces, not powder.
2️⃣ Mix the Filling
In a saucepan over medium heat, warm the peanut butter and maple syrup together, stirring until smooth and slightly bubbly. Remove from heat and stir in vanilla extract.
3️⃣ Combine
Add the crushed cornflakes and stir until they’re fully coated with the peanut butter mixture.
4️⃣ Shape the Bars
Line a baking tray with parchment paper. Scoop out the mixture and press it firmly into a rectangle about 1/2 inch thick. Freeze for 30 minutes or until firm.
5️⃣ Cut and Dip
Once firm, cut into bar shapes. Melt chocolate chips with coconut oil in the microwave (20-second bursts, stirring in between). Dip each bar into the melted chocolate to coat, then place back on the tray.
6️⃣ Chill & Enjoy
Return the bars to the freezer for about 15 minutes to set the chocolate. Store in an airtight container in the fridge or freezer.

Table: Pros and Cons of Homemade Healthy Butterfingers
| Pros | Cons |
|---|---|
| No refined sugar or artificial ingredients | Takes a little time to prep |
| Customizable for dietary needs (vegan, paleo) | Chocolate coating can get messy |
| Way cheaper than store-bought “healthy” candy | May not last long — they’re addicting! |
| Freezer-friendly for long shelf life | Cornflake texture may vary by brand |
Nutritionist Tip: A Better Way to Satisfy Your Sweet Tooth
“Homemade healthy candy bars like these Butterfingers are perfect if you’re trying to cut down on sugar but don’t want to give up treats altogether,” says Jenna Price, a certified holistic nutrition coach. “They’re satisfying, portion-controlled, and you skip all the weird stuff you’d find in big-brand candy bars.”
Pro Tips for Easy Healthy Butterfingers
- Go darker: Use 70% or 85% dark chocolate to keep sugar low and flavor rich.
- Crunch matters: Don’t pulverize the cornflakes — a little texture gives that classic Butterfinger crunch.
- Flavor twist: Add a sprinkle of sea salt or a dash of cinnamon for extra depth.
- Make it mini: Cut into bite-sized pieces for easier portion control.
FAQs About Healthy Butterfinger Recipe & Homemade Healthy Butterfingers
1. Are homemade healthy Butterfingers really healthier than store-bought?
Yes! You skip all the refined sugar, preservatives, and artificial flavors while controlling sweetness.
2. Can I make these Homemade Healthy Butterfingers vegan?
Definitely — just use maple syrup instead of honey and choose dairy-free dark chocolate.
3. How long do these stay fresh?
Store in an airtight container in the fridge for up to 1 week or in the freezer for up to 2 months.
4. Do I have to use cornflakes?
Cornflakes give the classic crispy crunch, but you can experiment with puffed rice or crispy quinoa for a twist.
5. Can kids help make these?
Absolutely! Crushing cornflakes and dipping in chocolate is super fun for kids.
6. Do I need fancy tools for this Healthy Butterfinger Recipe?
Nope — just a saucepan, baking tray, parchment paper, and a microwave or double boiler for melting chocolate.
7. What’s the best way to store Homemade Healthy Butterfingers?
Keep them in an airtight container in the fridge or freezer to maintain that perfect crunch.
Final Thoughts
There you have it — your very own Healthy Butterfinger Recipe that proves you can have your favorite candy bar and stick to your clean eating goals, too. These Homemade Healthy Butterfingers are easy, budget-friendly, and downright addictive in the best possible way.
Got your own twist for this recipe? Maybe you swap the peanut butter for almond butter or add extra crunch with chopped nuts? Drop your ideas below — I’d love to hear how you’re putting your healthy spin on this classic candy!
If you’d like, I can also craft a ready-to-post HTML version, design a Pinterest Pin description, or write an SEO board description for “Healthy Homemade Candy Bars.” Just say YES, and I’ll handle it for you!


Leave a Reply